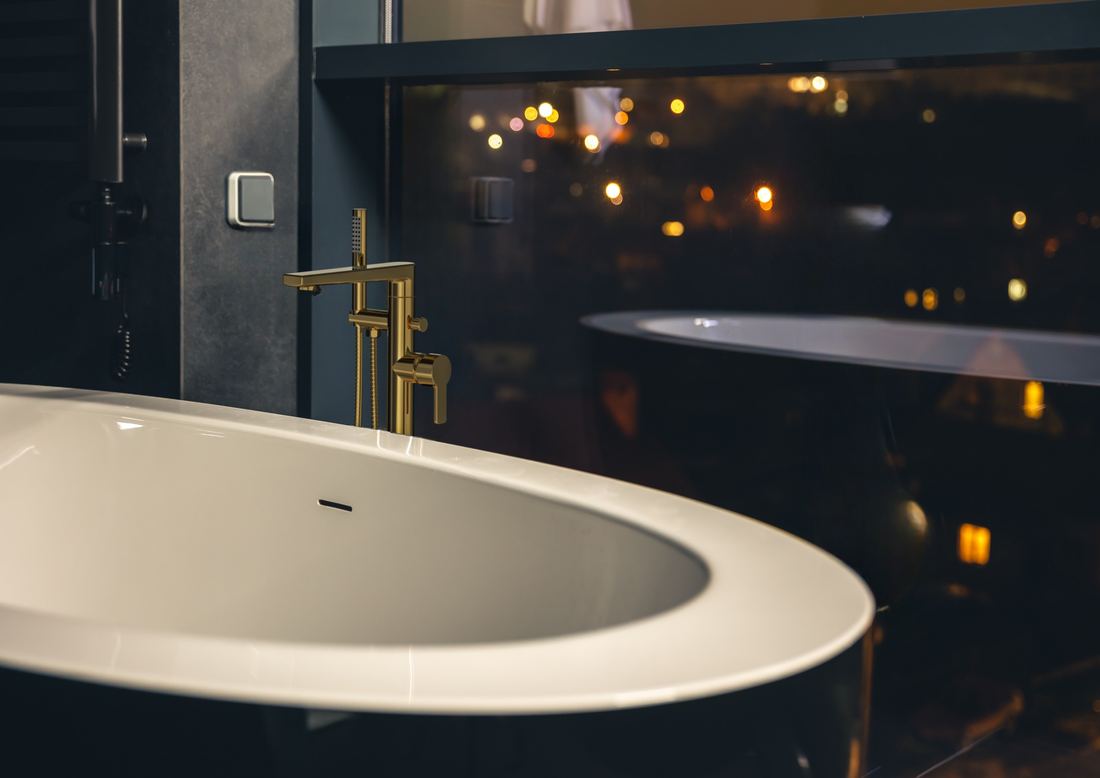
The calls we least enjoy receiving begin the same way: the tiles are up, and now a decision made months earlier has surfaced as a problem — a concealed valve that does not suit the chosen mixer, a wall-hung WC with no frame behind the wall, a basin whose tap hole assumes a fitting nobody bought. None of these are product failures. They are order-of-decisions failures, and every one is avoidable. This is the sequence we walk clients through at the studio.
Stage one: what goes inside the wall
Before plaster, the bathroom's skeleton is fixed — and with it, most of your real choices. Decide now: concealed or exposed shower system; wall-hung or floor-mounted WC (wall-hung needs a concealed cistern and support frame built into the wall); the number of water points at the basin; whether a hand shower, body jets or an overhead rain shower are wanted. Each of these changes the plumbing inside the wall. Our bath fittings page explains concealed versus exposed systems in detail; the short version is that the concealed body is bought and installed months before the visible trim, so brand and series must be locked at this stage even though nothing visible has been purchased.
Stage two: surfaces
With the wall's contents fixed, choose tiles and slabs — wall first, then floor. The wall sets the bathroom's character; the floor must serve it while meeting harder duties: anti-slip texture, falls to the drain, and joints in the right places. Sizes interact with the room here exactly as our tile size guide describes — and niches, ledges and mirrors must be positioned on the tile layout drawing, not improvised on site, so that trims and cut lines land where they were meant to.
Stage three: sanitaryware and fittings together
Choose the WC, basin and fittings as one composition, not three purchases. The basin decides the tap: a counter-top bowl needs a tall or wall-mounted mixer, a recessed basin a standard one — and the tap-hole configuration must match. Finishes deserve the same discipline: chrome, brushed steel, gunmetal and PVD tones sit differently against different tiles, which is exactly why our studio displays fittings beside the surfaces they will accompany — see the sanitaryware page for the serviceability questions that matter long after installation.
The coordination habits that save bathrooms
Three habits prevent most of the grief. First, a single finishes schedule — one sheet listing every item, code, finish and quantity per bathroom — shared by client, architect and plumber, so nobody orders from memory. Second, finished floor level agreed in writing before tiling, because WC outlets, door clearances and shower falls all hang on it. Third, everything on site before the plumber begins finals: fittings installed in two visits, months apart, are where mismatches hide.
Bring your bathroom drawings to the studio in Sector 82, Mohali, and we will build that schedule with you — across whatever mix of segments the project needs, from a practical family bathroom to a Velora Forte master bath.