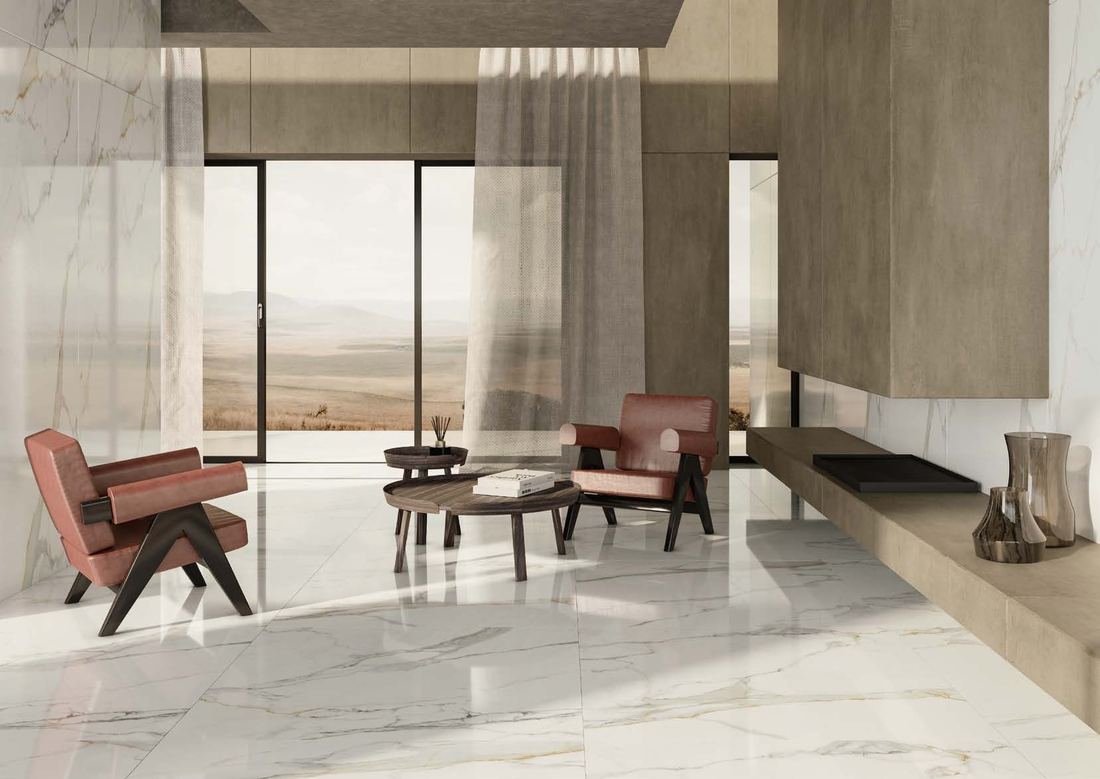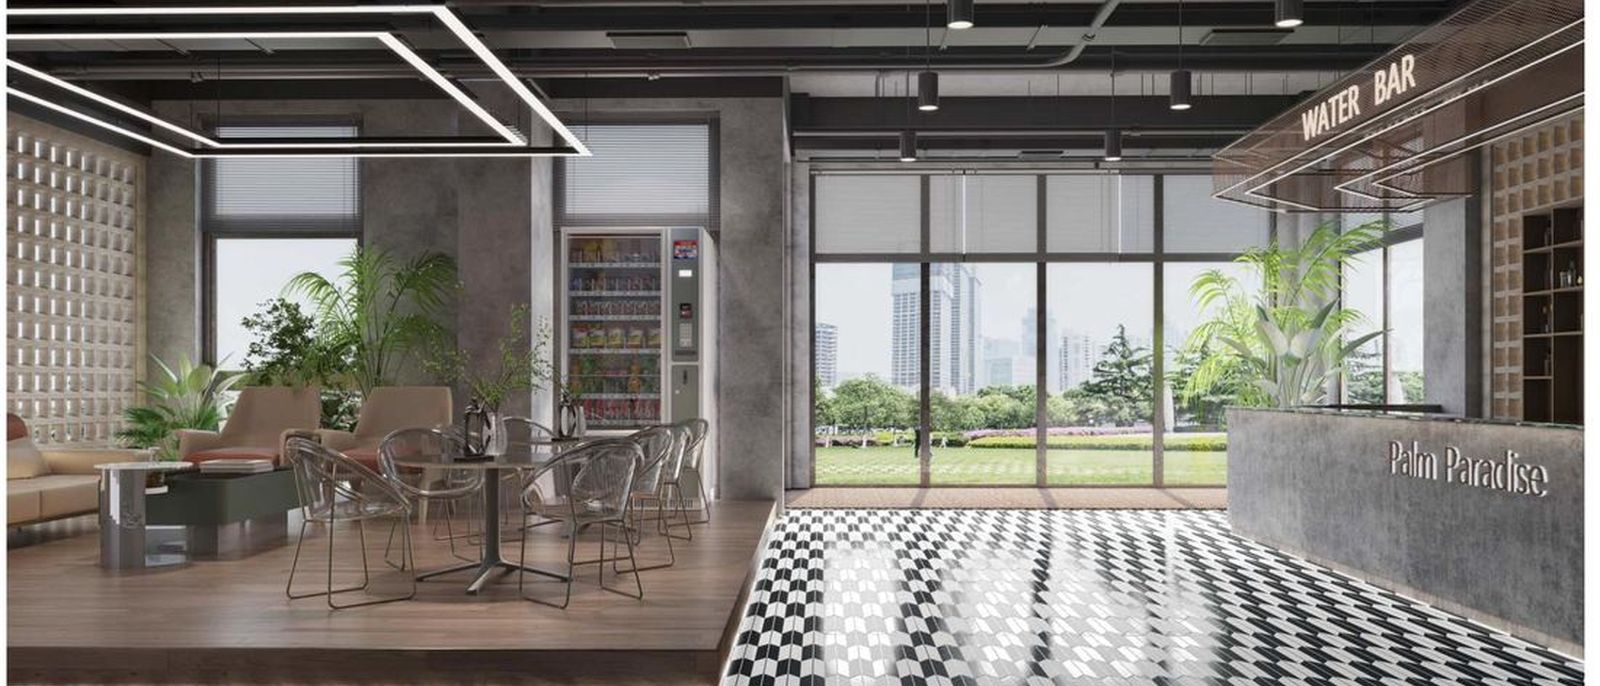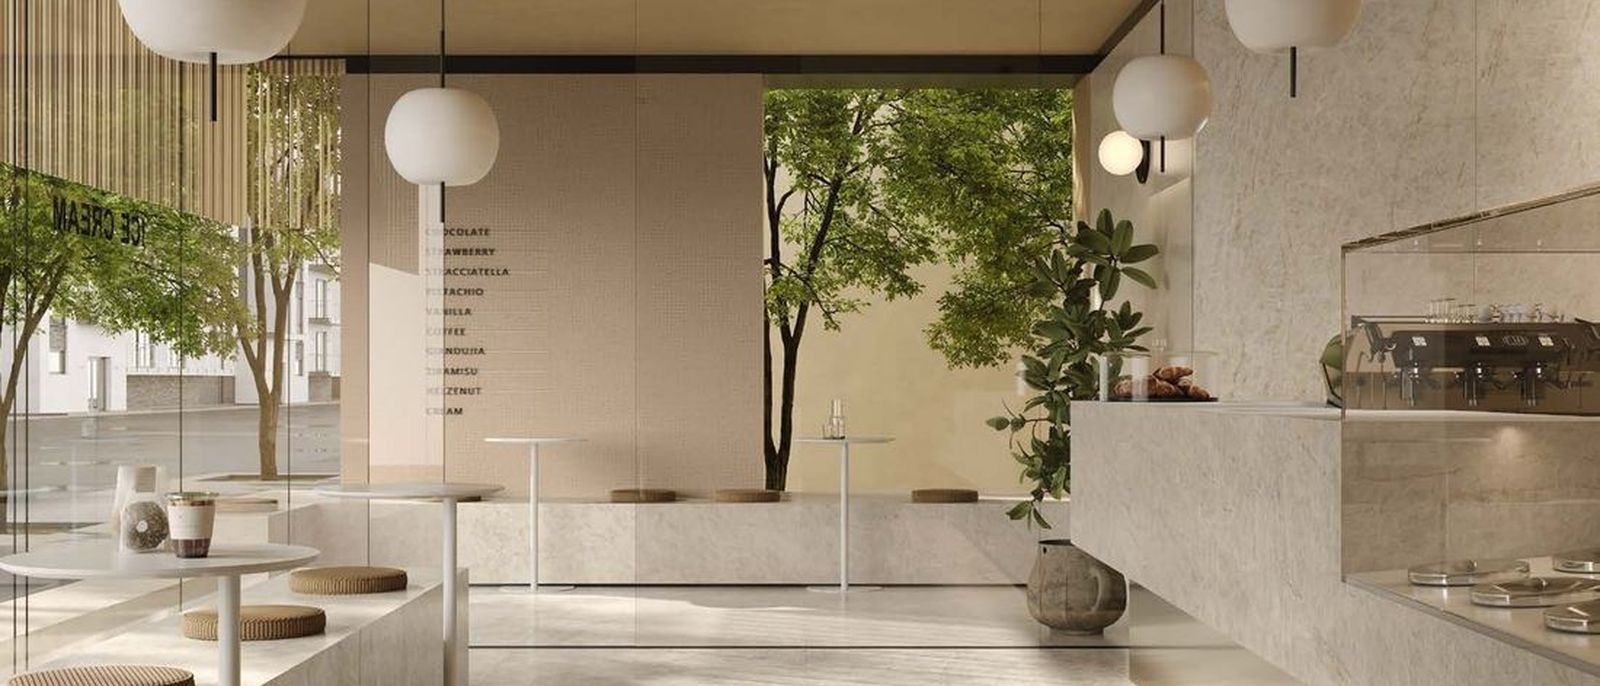
Large format is the direction the market has moved in, and for good reason: fewer joints, a calmer floor, and material that finally gets an uninterrupted canvas. What clients are rarely told is that the tile is the easy part. Everything around it — the substrate under it, the adhesive behind it, the hands that carry it and the layout drawn before it is ordered — has to move up a level at the same time. This guide covers what actually changes, so you can brief a contractor properly rather than discover it on site.
Where 'large format' begins
In practice the shift starts at 800x1600 mm (32x64 inch). Below that, a competent tiler working normally will give you a good floor. At 32x64 and above — 1200x1800 mm (6x4 ft), and slabs at 1200x2400 mm and 1600x3200 mm — the tolerances that were forgiving become unforgiving. A 600x600 tile can absorb a millimetre of substrate error across its length. A 1600 mm tile cannot; it bridges the hollow instead, and you hear it underfoot as a drum note.
This is not an argument against going large. It is the reason large-format floors look so good when they are done properly: the same flatness that the tile demands is what produces the continuous, almost monolithic surface people want in the first place.
The substrate does most of the work
Flatness is the single biggest variable, and it is worth being specific with your contractor rather than asking for a 'level floor'. The working standard for large format is roughly 3 mm deviation over a 2 m straightedge, tightening as the tile gets longer. On most sites that means a self-levelling screed rather than a hand-floated bed.
Ask for the substrate to be checked with a straightedge in front of you before any adhesive is opened. It takes ten minutes and it is the last moment at which a problem is simple to correct. Once tiles are down, a high spot becomes a lippage line running the length of a room, and the only remedy is to lift and relay.
Adhesive, back-buttering and the hollow-sound problem
Large tiles need full bed coverage — the goal is effectively no voids behind the tile, and certainly none under an edge or corner. That is achieved by back-buttering: notched adhesive on the floor and a thin skim across the back of the tile, so the two beds knit together. Coverage should be checked by lifting one tile early in the day and looking at the transfer pattern.
Use an adhesive rated for the format and the substrate, and respect its open time. In Punjab summers open time shortens considerably, which is why large-format work goes better started early in the day. A hollow-sounding tile is not a cosmetic complaint — it is an unsupported tile, and it will crack under a point load eventually.
Handling, cutting and edges
At 6x4 and slab sizes, tiles are carried on frames with suction cups by two or more people, kept vertical in transit, and never carried flat unsupported — a slab flexes under its own weight and snaps. Cutting moves from a manual score-and-snap to a rail cutter or a wet bridge saw, and mitred edges for counters and steps become a specialist job.
Edge detail is where large format is won or lost visually. A mitred external corner reads as solid stone; a bullnose or a metal trim reads as tiling. Neither is wrong, but the decision belongs at the drawing stage, because a mitre needs extra material ordered and a fabricator booked.
Layout before order, always
With small tiles a layout can be adjusted on site. With large format it cannot — a 1200x1800 piece either fits the space you gave it or it does not. Have the layout drawn first: it decides where the full pieces land, pushes the cuts to the least-seen edges, and converts area into an honest order quantity. It also settles whether the room reads better with the long dimension running with the space or across it, which is a design decision, not a technical one.
Our guide to order quantities covers how that drawing turns into boxes, and why a small reserve from the same batch matters years after handover.
Judge it standing on it
Scale does not survive a photograph. A 2x4 and a 6x4 look identical on a phone, and a slab wall looks like a wallpaper sample. At our studio in Sector 82, Mohali the range is displayed as laid floors and clad walls so you can walk the joints, see the reflection travel across a full piece, and decide with your feet. Browse the current display on the products page, or read more about slab applications on our surface solutions page.